Avery, my 2 year old daughter, is very much into swinging and banging things lately. She likes to swing beads; she especially likes to swing them around her defenseless brother. I decided to remedy the situation by making her a RIBBON DANCER, a toy she is allowed to swing around, that will hurt Carter less if she happens to get too close.
Materials:
12-14 inches of 3/8 wooden dowel
handsaw
small piece of sandpaper, a scrap even
painters tape
acrylic paint
sponge brush
spray acrylic sealer
thumb tack
8 inches yarn or string
about 3 feet ribbon (I think I used 1.5 or 2 inch, sorry I don't remember)
How to:
Step 1: Use the handsaw to cut off the length of dowel rod you need. I think they usually come in 36 lengths if I remember....that seemed a little too dangerous for Avery's arm to me. Sand the end or ends you saw because they will be a little rough. (We don't want splinters, that'll turn playtime into a painful screaming fest quickly.)
Step 2: Paint your dowel rod your chosen color. (I did pink because I already had some pink ribbon...orange or some bright turquoise would look GREAT.) I applied to layers of paint. Allow to dry in between. If you want a solid colored rod you can skip the next step.

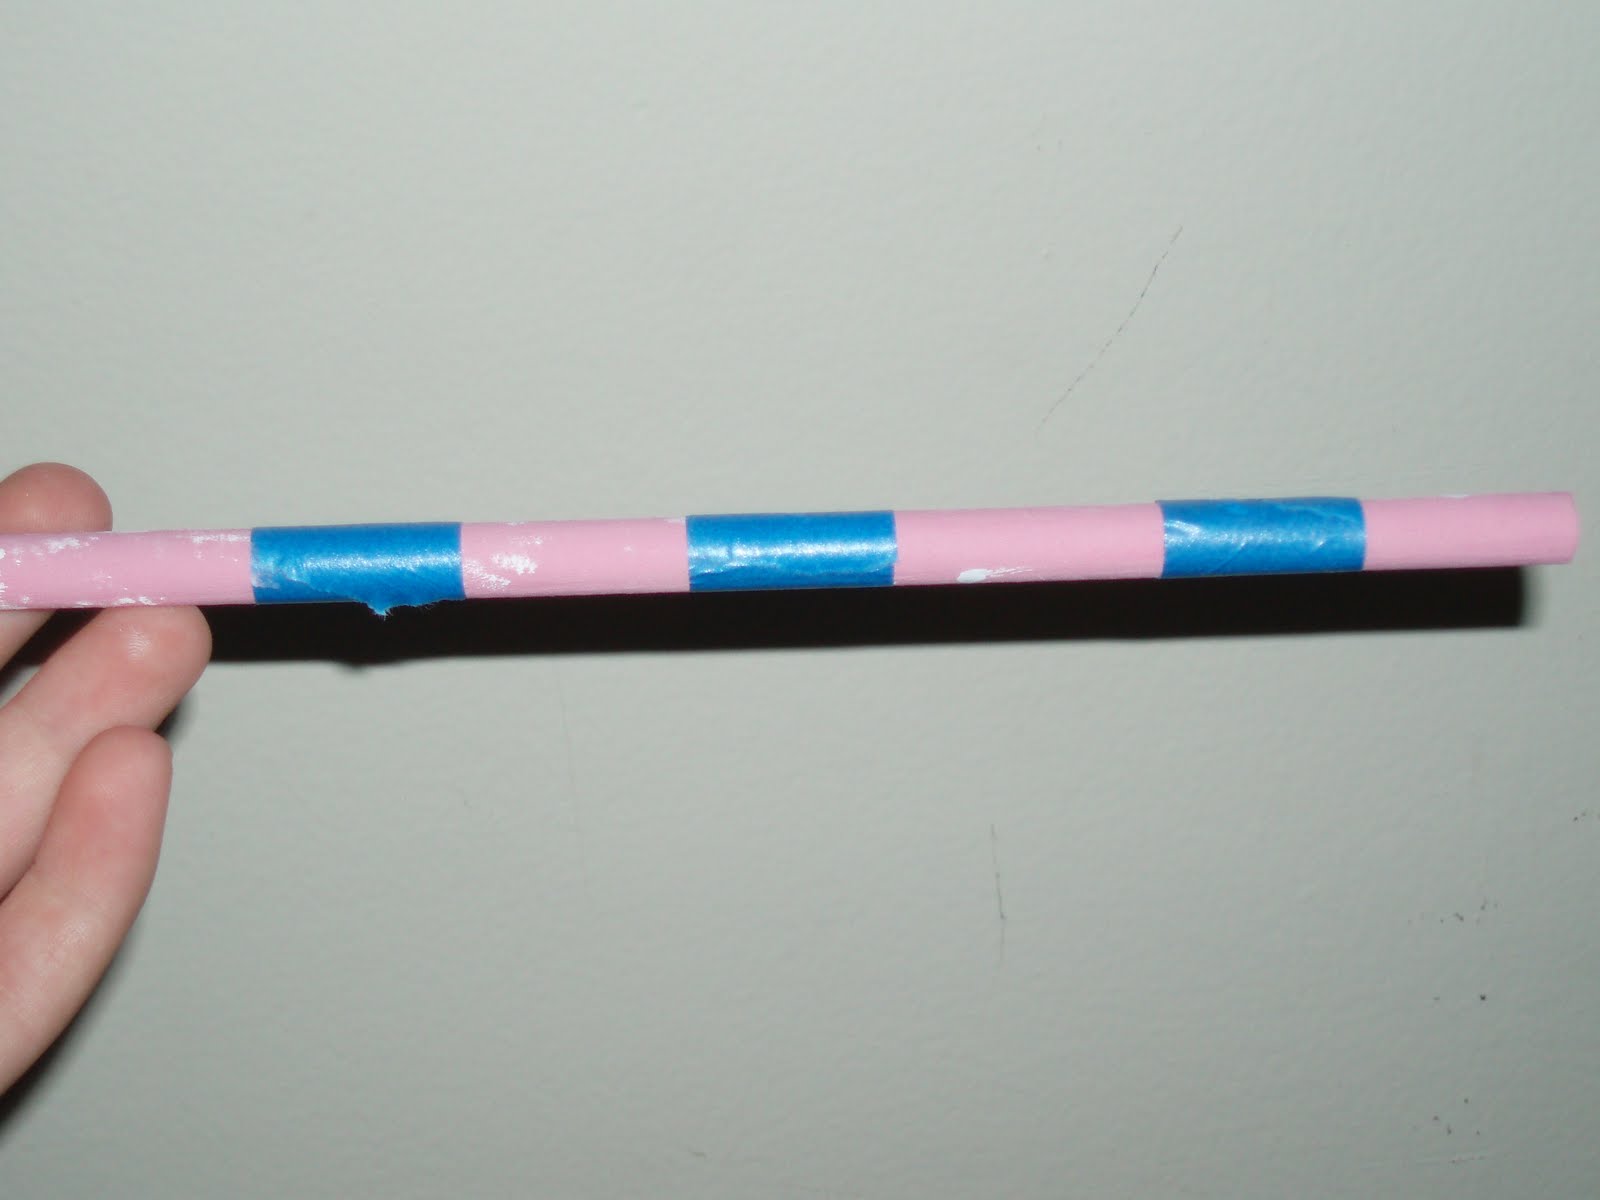
Step 3: Apply painter's tape to the areas that you do NOT want to be your secondary color. (If you look close you can see the white spots where my 2 year old "helped" me with some painting while I wasn't looking.) Paint secondary color on. I did 2 or 3 layers here because my secondary color was lighter than my primary. If I was thinking straight I would have switched the order of application of my colors.

Step 4: Fold over and sew down the edges of the ribbon. I allowed a larger hem on one end for slipping a piece of yarn through for attaching to the stick.

Step 5: Slip yarn through slot and tie a knot at the end of the yarn, tying the two edges of yarn into the same knot that is. Attach the yarn/ribbon to the dowel rod by putting a tack through the knot into the dowel rod.

VOILA!!!
RIBBON DANCER...tons of fun.
And, for some live action shots...

PS - As a side note, I remember one specific Christmas when my cousins got ribbon dancers and I was a totally jealous 7 or 8 year old.